How to configure Auth0 with AWS AppSync
Use any user directory that supports OpenID Connect with AppSync


OpenID Connect with AppSync
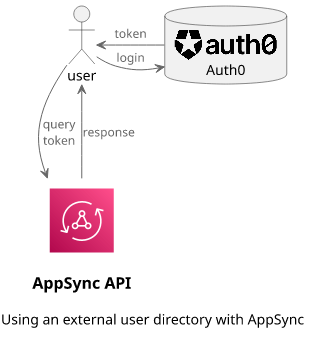
AppSync supports multiple types of authorization providers, and one of them is OpenID Connect. It is an open standard and many user directories support it. Using that, you can integrate third-party login providers with an AppSync API.
How does it work?
Users are in the third-party system that handles authentication (logging in) and issues authentication tokens. Then when the user makes a request to AppSync they include this token. AppSync verifies that it is not forged and it indeed came from the OpenID Connect provider. The token contains information about the user, most importantly its identifier that resolvers in AppSync can use. As a result, what you can do with Cognito you can also configure for many other providers.

In this article we'll look into how to integrate Auth0 with AppSync. We'll have users in an Auth0 tenant, and call an AppSync API with tokens issued by that tenant. Then we'll also see what AppSync resolvers see when a client uses a third-party token.
Auth0 config
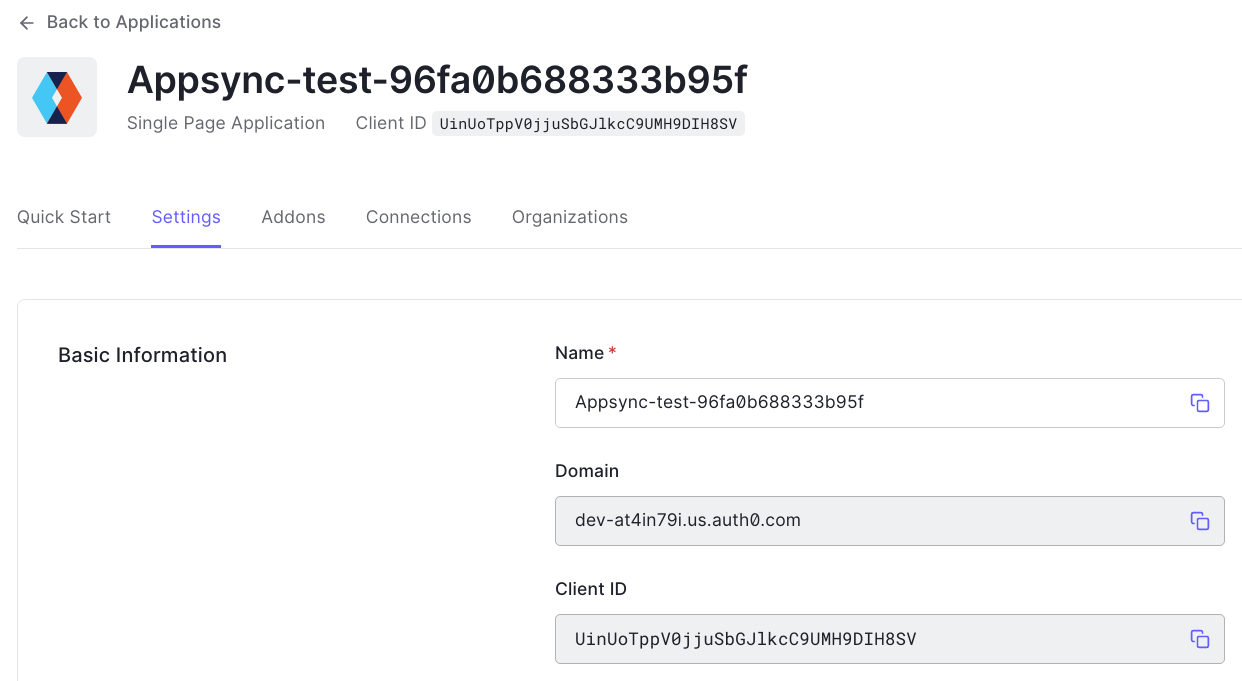
The first step is to configure an application on Auth0. This is where users can log in:
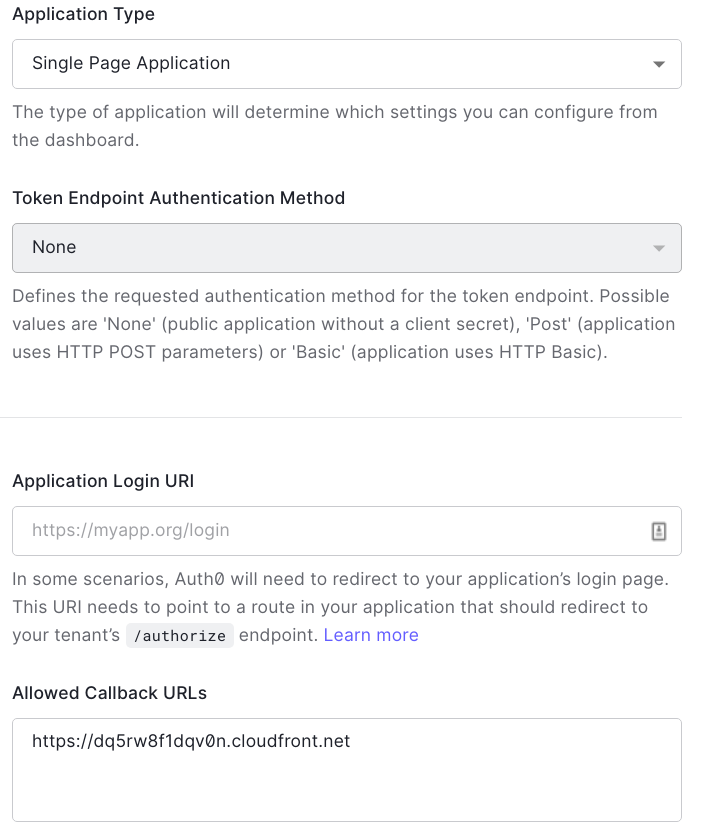
OAuth supports several ways to implement the login flow, but the most useful is based on a redirect to the auth endpoint and then a code parameter that is then exchanged for the token. This is roughly the same as for Cognito, described in this article.

This needs a callback URL, then I needed to disable the token endpoint authentication as the SPA has no access to the client secret:
Then the last thing is to have some users:
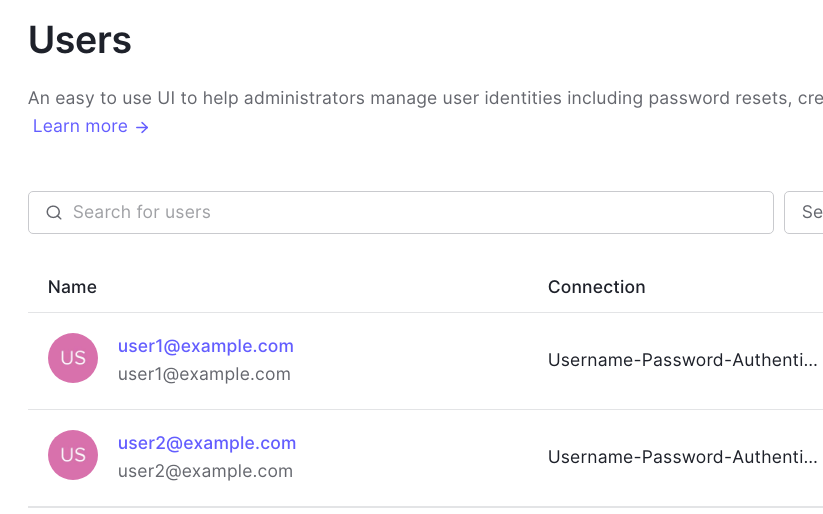
Terraform
Since Auth0 supports Terraform, it is easy to wire everything together with code:
resource "auth0_client" "appsync" {
	name            = "Appsync-test-${random_id.id.hex}"
	app_type        = "spa"
	callbacks       = ["https://${aws_cloudfront_distribution.distribution.domain_name}"]
	oidc_conformant = true
	token_endpoint_auth_method = "none"

	jwt_configuration {
		alg = "RS256"
	}
}

resource "auth0_user" "user1" {
  connection_name = "Username-Password-Authentication"
  email = "user1@example.com"
  email_verified = true
  password = "Password.1"
}
AppSync
Now that there is a configured user directory with some users, the next thing is to configure the API. This part is rather simple, as AppSync only needs the domain:

While the client ID is optional, you'll need that on the client-side as it is a required parameter for most calls.
Why a domain is enough
AppSync validates the token, but why it only needs the auth domain? Validation needs a public key to check the signature, but the configuration does not need it. Where does is come from?
OpenID Connect specifies a location with all the necessary information. This is at https://<domain>/.well-known/openid-configuration and it is a JSON
containing several fields:
{
	"issuer": "https://dev-at4in79i.us.auth0.com/",
	"authorization_endpoint": "https://dev-at4in79i.us.auth0.com/authorize",
	"token_endpoint": "https://dev-at4in79i.us.auth0.com/oauth/token",
	"userinfo_endpoint": "https://dev-at4in79i.us.auth0.com/userinfo",
	"jwks_uri": "https://dev-at4in79i.us.auth0.com/.well-known/jwks.json",
	...,
}
Notice the jwks_uri, which is a link to another JSON:
{
	"keys": [
		{
			"alg": "RS256",
			"kty": "RSA",
			"use": "sig",
			"n": "rgxLjmjj_...",
			"e": "AQAB",
			"kid": "eUhhBOwRy_...",
			"x5t": "SEmMAyXE3H...",
			"x5c": [
				"MIIDDTCCAfWgAwIBA..."
			]
		},
		...
	]
}
This contains a list of keys, identified by the kid (key ID). The
token
also has a kid. When AppSync validates the token it fetches the JWKs, find the matching key, then verify the signature using the parameters.
AWS documentation has an article that describes it for Cognito, but the idea is the same for other providers.
Client-side
The client-side wires the two services together. The browser redirects to Auth0 for login, where the login flow kicks in. This is where a username, a password, MFA, and any other information is taken from the user that is needed for logging in.
When Auth0 is happy with the answers, it redirects to the SPA with a code parameter. Finally, the client exchanges this code for an id_token:
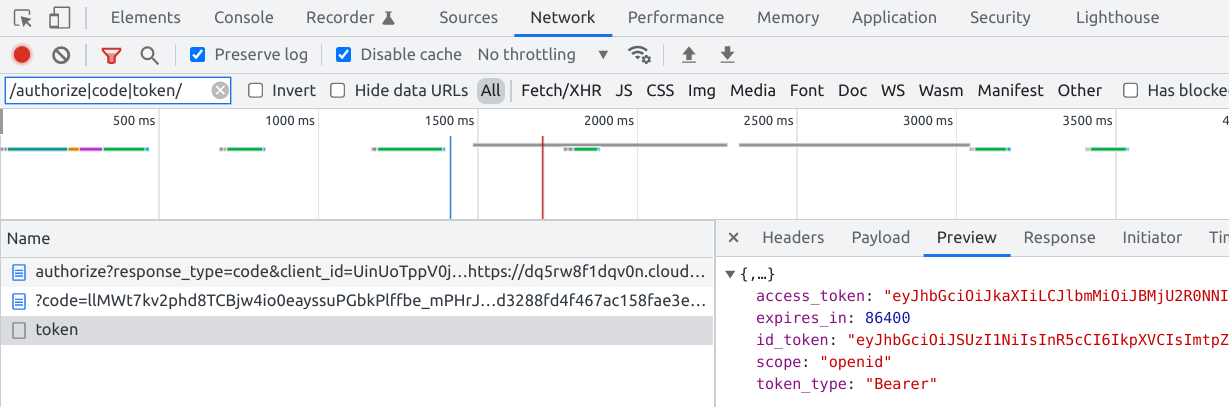
The exact flow is a bit more complicated as there are several parameters required on every step for it to work. Check out this article for a more in-depth analysis.

The id_token is what AppSync needs in the authorization header:
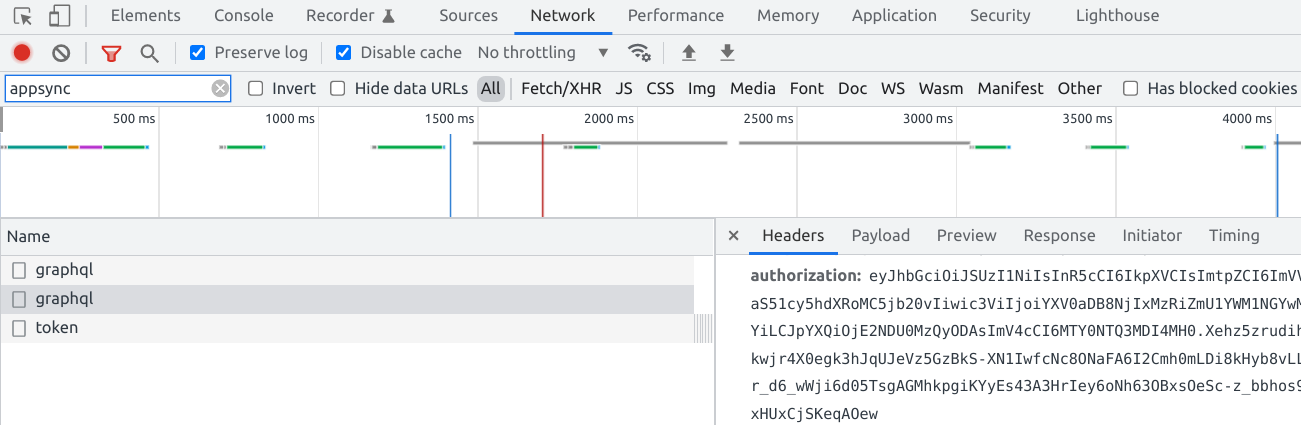
Under the hood, this is where AppSync does the token validation using the JWKs, and then it calls the resolvers.
Resolver-side
The $context.identity provides information about the user:
{
	"claims": {
		"sub": "auth0|62134bfe5ac54f0069f299c7",
		"aud": "UinUoTppV0jjuSbGJlkcC9UMH9DIH8SV",
		"iss": "https://dev-at4in79i.us.auth0.com/",
		"exp": 1645470280,
		"iat": 1645434280
	},
	"issuer": "https://dev-at4in79i.us.auth0.com/",
	"sub": "auth0|62134bfe5ac54f0069f299c7"
}
The sub is the ID of the user in Auth0. Usually, the API can use this to store and retrieve data for this user.
Conclusion
OpenID Connect provides a standards-based way to wire a third-party authentication provider with AppSync. With a few lines of configuration, you can use any compliant user directory with an API.