How to create a Theme Plugin for Magento
Tips about getting started with Magento and creating a simple theme plugin.


Magento is one of the most powerful, actively developed open source webshop engines around. It has rich built-in functionality and a wide variety of plugins and themes available online. Because it's based on PHP, it can even be deployed to cheap hosting services.
These were the main reasons I chose it for a recent project, despite the fact that I rarely code in PHP, and I know other platforms much better.
Also, it has a huge community, and amazing documentation, so finding resources online is really easy.
In this post, I collected some tips about how to get started with Magento and create a simple site with a custom theme.
Install
Many service providers maintain packages and tools for it, so you can install Magento easily with cPanel in a few clicks.
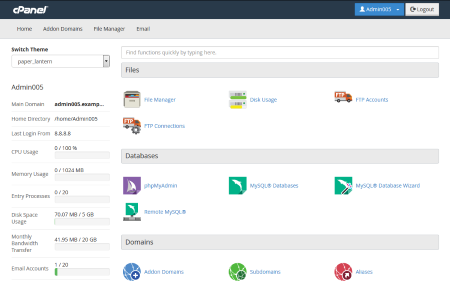
However, if you decide to roll your own server, it's easy to install Magento yourself.
Create a theme
The documentation mentions that while it's possible to directly change the design files in the Magento installation, it might complicate upgrades in the future.
Instead, the design changes should be contained in a separate Theme plugin.
To create a custom Theme, first create a folder in the following location:
app/design/frontend/<Vendor>/<Theme-Name>.
In the example below I use advancedweb as the Vendor and my-first-theme for theme name.
Then create the following 3 files that contain the necessary information to declare and register your theme:
- theme.xml
- composer.json
- registration.php
In the theme.xml you declare the theme, and specify its parent:
<theme xmlns:xsi="http://www.w3.org/2001/XMLSchema-instance" xsi:noNamespaceSchemaLocation="urn:magento:framework:Config/etc/theme.xsd">
     <title>My First Theme</title>
     <parent>Magento/luma</parent>
     <media>
         <preview_image>media/preview.jpg</preview_image>
     </media>
</theme>
The composer.json is required to distribute your Plugin as a Composer
package. The official guide suggests that this file is optional, but I could not get my theme working without it.
{
    "name": "advancedweb/my-first-theme",
    "description": "N/A",
    "require": {
        "php": "~5.6.5|7.0.2|7.0.4|~7.0.6",
        "magento/theme-frontend-luma": "100.1.*",
        "magento/framework": "100.1.*"
    },
    "type": "magento2-theme",
    "version": "100.1.2",
    "license": [
        "OSL-3.0",
        "AFL-3.0"
    ],
    "autoload": {
        "files": [
            "registration.php"
        ]
    }
}
It lists what packages are required for your plugin to work and points Magento to the registration.php,
that has contains some initialization code needed by Magento to load the theme:
<?php
\Magento\Framework\Component\ComponentRegistrar::register(
\Magento\Framework\Component\ComponentRegistrar::THEME,
'frontend/advancedweb/my-first-theme',
__DIR__
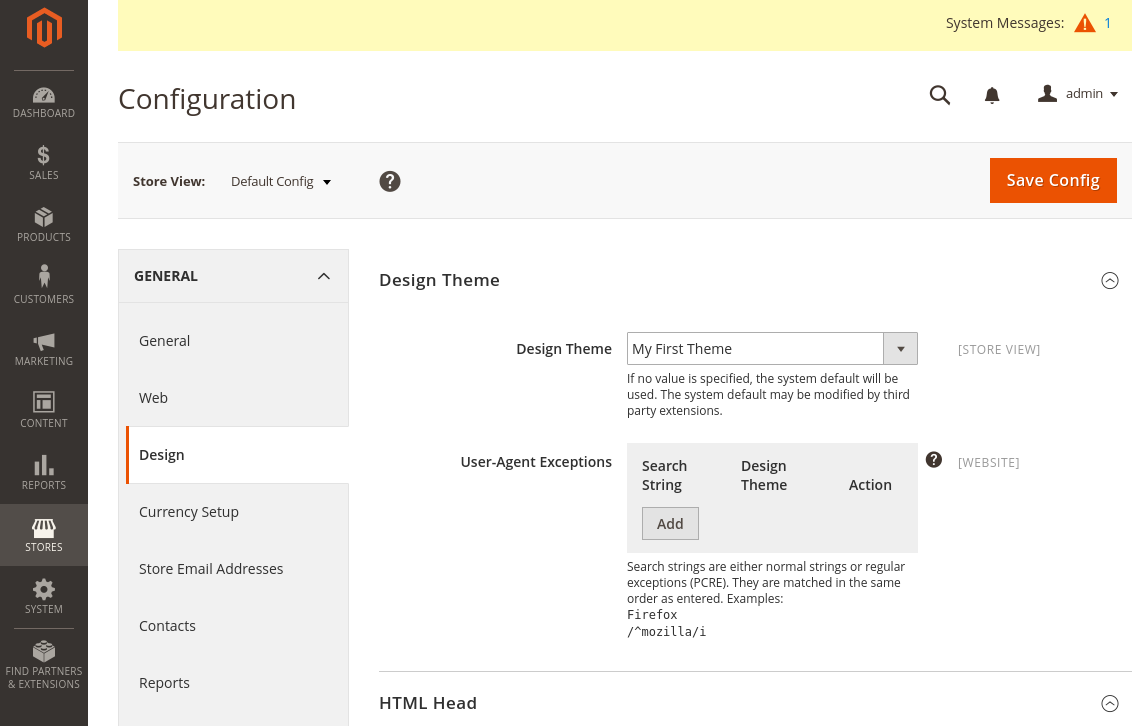
);When these files are in place, the Theme can be applied to the whole store in the Stores / Configuration
panel.
The theme can be applied to single pages or shop items too. This is handy when you have to add small design changes for just one page. For this, simply create a new child theme that contains the necessary changes, and use that in the page.
Before adding anything to the theme it's important to note that Magento in production mode aggressively caches the static view files to provide better performance. This is really inconvenient during design development, so make sure to run Magento in development mode.
Otherwise, you have to flush Magento Cache after even simplest of CSS changes in the System / Cache Management
admin panel. (Also flush Static and Javascript/CSS Cache files before issuing full cache clean.)
Add Custom Styles and Scripts
Now the theme doesn't do anything special yet, it looks just like the default one:
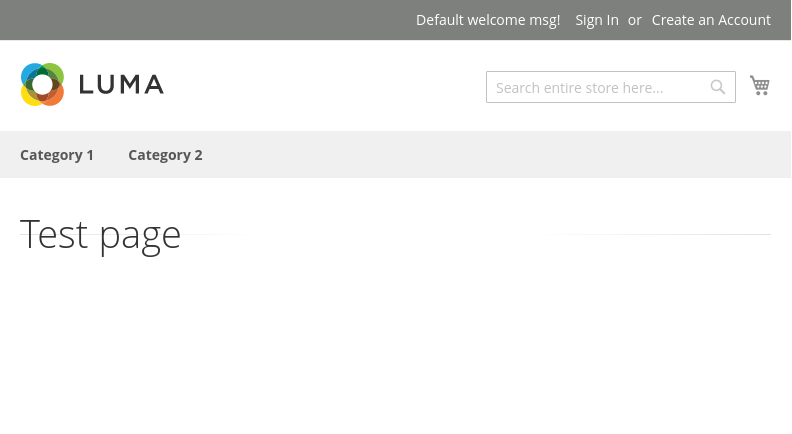
So let's add some custom styling rules to make it a bit more unique.
First, create a web/css folder and a custom.css file in the theme folder.
For this simple example, this file will contain all our style modifications.
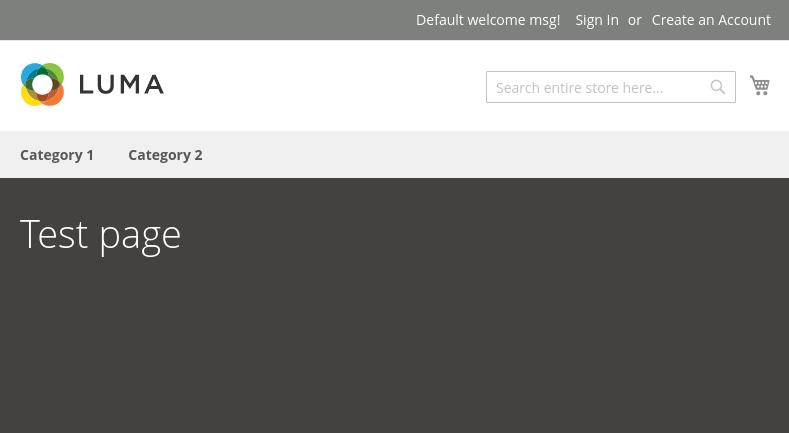
.page-wrapper {
  background: #444141;
  color: white;
}
Then create a default_head_blocks.xml file in the Magento_Theme/layout folder.
In this file,
you can specify
the CSS files to be loaded with each page.
<?xml version="1.0"?>
<page xmlns:xsi="http://www.w3.org/2001/XMLSchema-instance" xsi:noNamespaceSchemaLocation="urn:magento:framework:View/Layout/etc/page_configuration.xsd">
    <head>
        <meta name="viewport" content="width=device-width, initial-scale=1"/>
        <css src="mage/calendar.css"/>
        <css src="css/custom.css"/>
        <script src="requirejs/require.js"/>
        <script src="js/custom.js"/>
    </head>
    <body>
        <referenceContainer name="after.body.start">
            <block class="Magento\Framework\View\Element\Js\Components" name="head.components" as="components" template="Magento_Theme::js/components.phtml" before="-"/>
        </referenceContainer>
    </body>
</page>
The same goes for the script files, just add them to your theme and register it in the XML configuration above. Make sure to copy this file from the parent theme you're using to avoid accidentally leaving something out.
Set your Magento application to developer mode if you are modifying the theme files, or just clear Magento Caches
in the System / Cache Management administration panel after you are done with the modifications to see the result.
Custom Logo, Favicon, and Footer
The logo and the favicon can be uploaded on the Stores / Configuration / Design admin page.
It's worth checking out the parameters you can tune, especially in the HTML head section.
The footer content can be defined on this page as well. You can simply change the copyright text, or inject custom HTML code.
Localize
The localization options are also found in the Store configuration panel. In the General page, you can set the Country, State and Locale options. The options regarding prices can be found under the separate Currency Setup category.
You can ship your custom localization files with the theme by adding CSV files
to the i18n folder in your theme. The name of the CSV file should be in
Magento's locale format, like en_US.csv, and it has to contain two columns.
The first column is the localization key, while the second one is the localized value in the given language. What's interesting in Magento is, that the localization key is not some arbitrary keyword, but the original English version of a given text, like "Shopping Options". This makes it very easy to translate or customize most labels in the webshop.
Wrapping it up
As we've seen in this post, it's quite easy to create a custom theme for Magento, making it possible to tune the look and feel and client-side scripts. With a Theme Plugin, you can easily create unique sites for your visitors.